Training Best Practices
These best practices are based on product design in Gravity Sketch. If you are doing training for environments or film, there may be a training order or nuances that need to be switched around.
General Recommendations
Session duration: 1 hour each
- We have found 1hr to be the best amount of time for a session. It is short enough that everyone stays involved and doesn’t have too much exposure to VR too quickly. It also is enough time to dive into complicated topics.
- With the 1hr per session option, we often suggest 4-6 sessions with each group to fully cover materials needed. The number of sessions depends on how quickly the group catches on.

Small groups
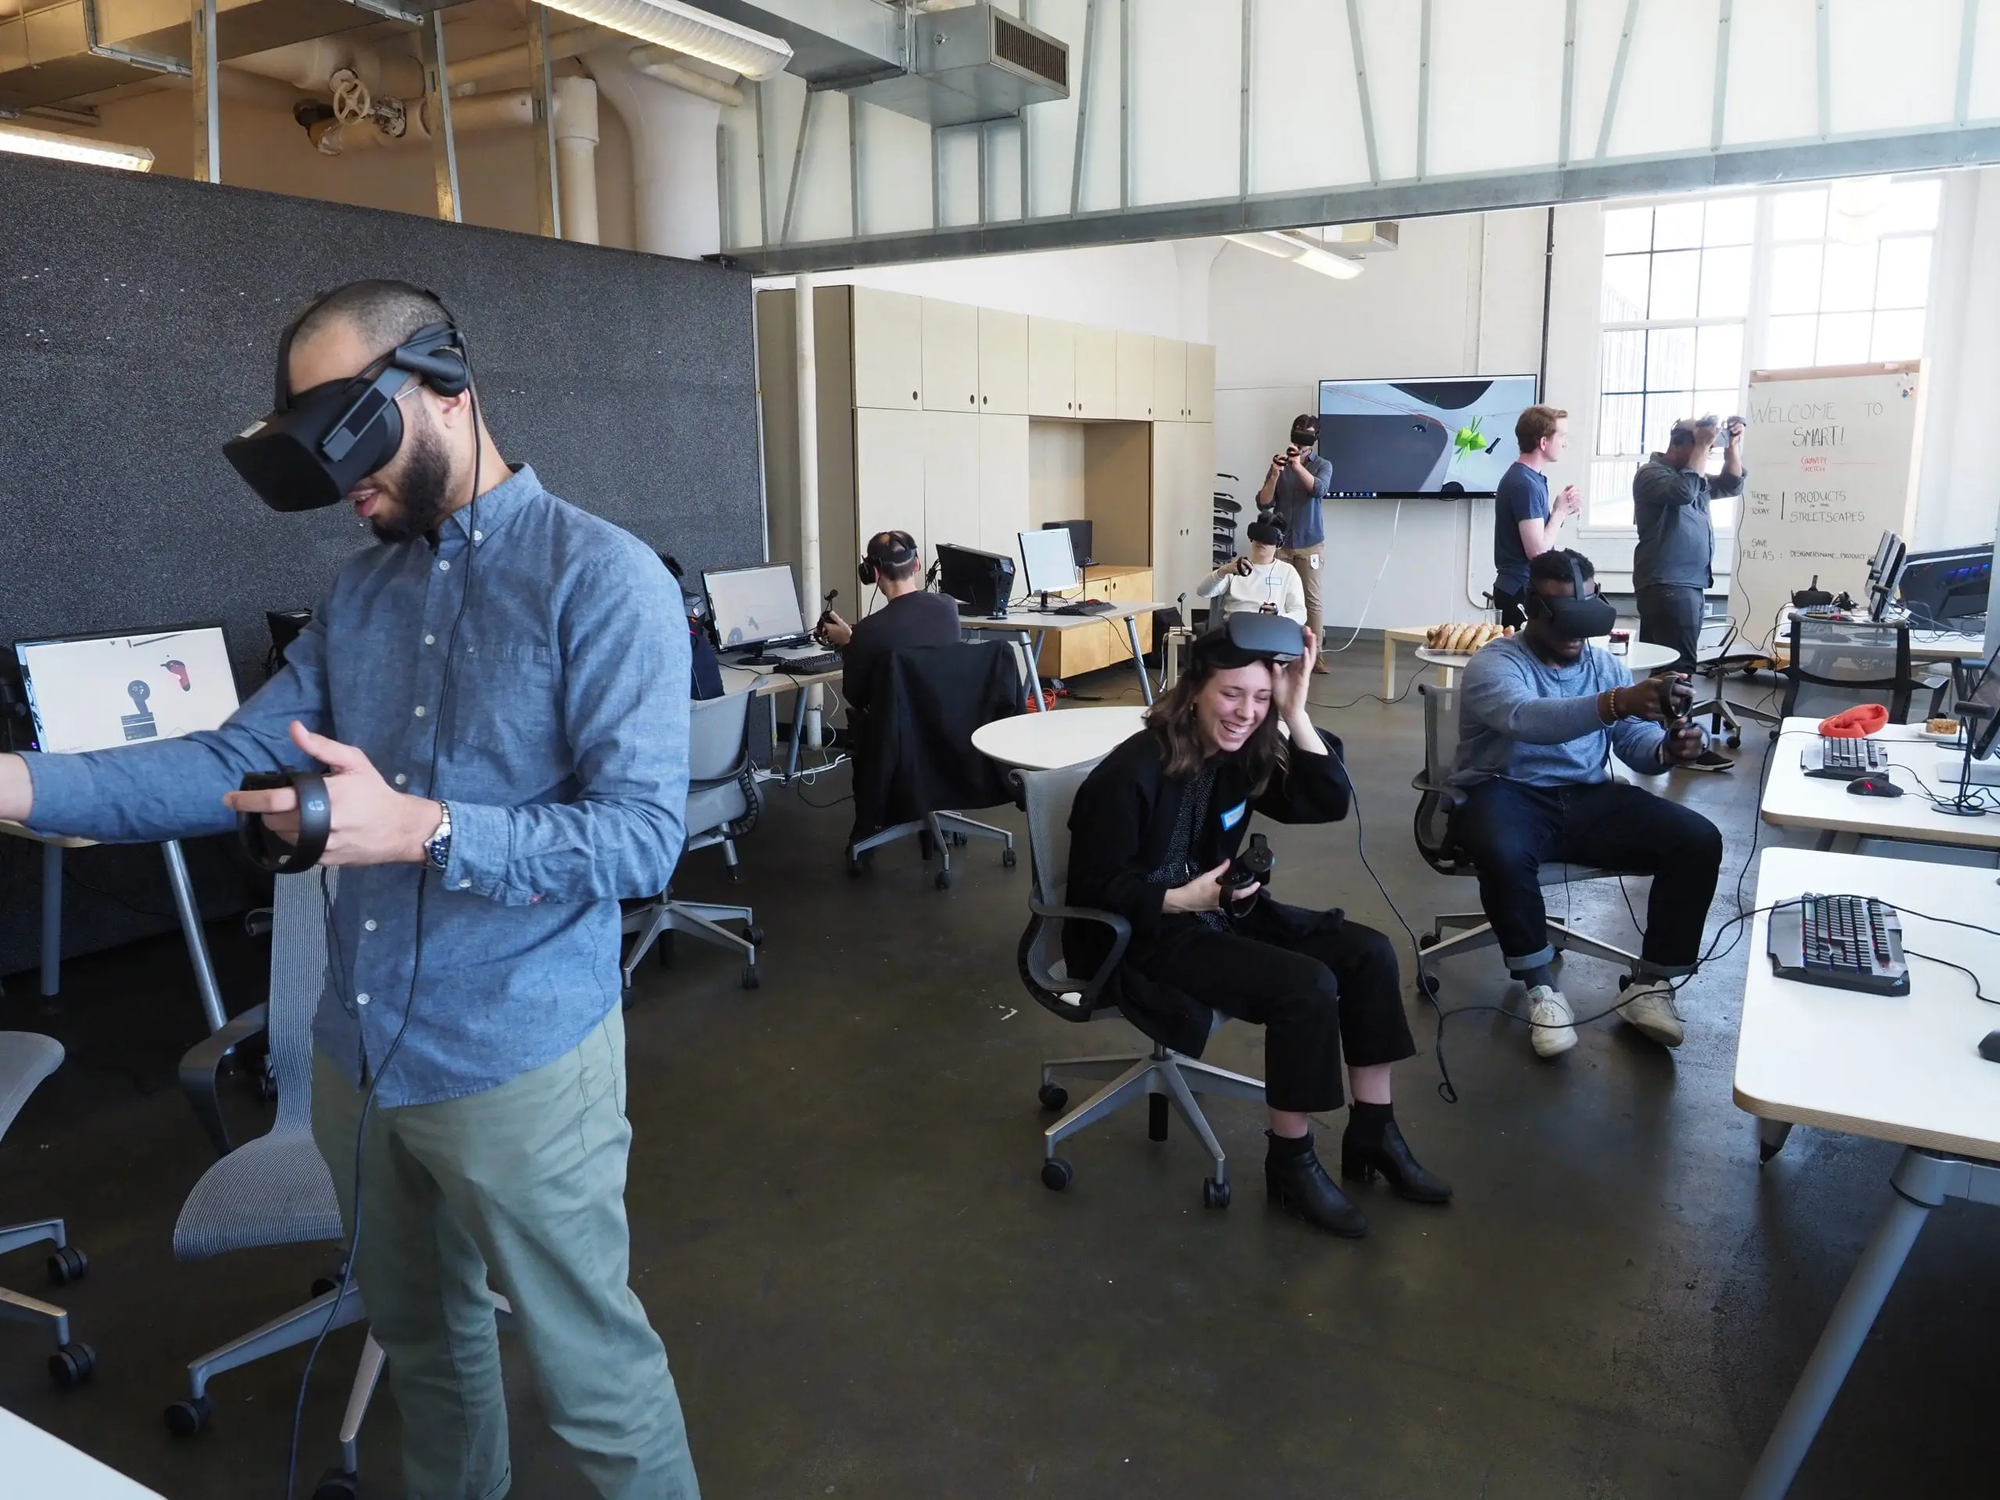
We recommend to break-out larger groups into different collaboration rooms so that it can be a 1:5 ratio of trainer to students.
- 1 trainer per room
- 1-5 students per room.
- More than five, it becomes difficult to individually help each student progress with their models.

Scheduling training
- We recommend scheduling 2 to 3 hours per week, with the trainees set homework/practice and encouraged to enter Gravity Sketch between the sessions to build muscle memory.
- Before the first session it is important to send set-up instructions to each of the trainees and convey the importance of them following these instructions prior to the session.
- This aims to avoid a situation where half the participants are ready to dive into Gravity Sketch when the call is started and half still have an uncharged headset in its box. If possible, follow up with the trainees individually the day before the session to check how far they have got with set-up. Hopefully, this will lead to a lovely, smooth and productive intro session!
Meeting Specifics
We recommend beginning the training in a video meeting rather than straight into VR for introductions and to get everyone set up correctly. This may not be necessary later in the training for some groups once everyone is happy to join straight in VR. Make sure you know how to use breakout rooms on whichever video meeting software you are using in case someone is having technical issues so whoever is hosting the training can help them in another room without disturbing everyone else.
If a participant is feeling queasy in VR, encourage them to take a break, drink some water, get some fresh air and hopefully join the session again later on. Let them know this phase will pass and that you could catch up with training at a later time (through joining other groups or 1-on-1).
LandingPad accounts
Prior to training, make sure the participants all have a LandingPad account that has been added to the correct organization.
If someone has not set up a LandingPad account, the training host can talk them through this (perhaps in a breakout room) and get them set up by adding their email to the org.
Training Content
Intro/Onboarding
We suggest starting with an intro session covering basics before diving into design or drawing.
Our proposed intro session covers the below topics as well as any other technical difficulties you can help with. Everyone is different, so this intro session could go very fast or it could take the whole hour.
- Getting into VR
- Getting into Gravity Sketch
- Navigating the main lobby area
- The difference between Personal & Org Spaces
- Going into a collab room
- Moving in space
- Scaling in space
- Controller layout
- Settings tools overview (including suggested basic settings)
- Drawing tools overview

Session 1
The first actual session is where we propose to start with creation. At this point, we often have each student follow along on a project.
If your group is new to 3D modelling, we suggest they follow along on a simple design to first learn the tools before diving into more complex ideas.
Ink Brush
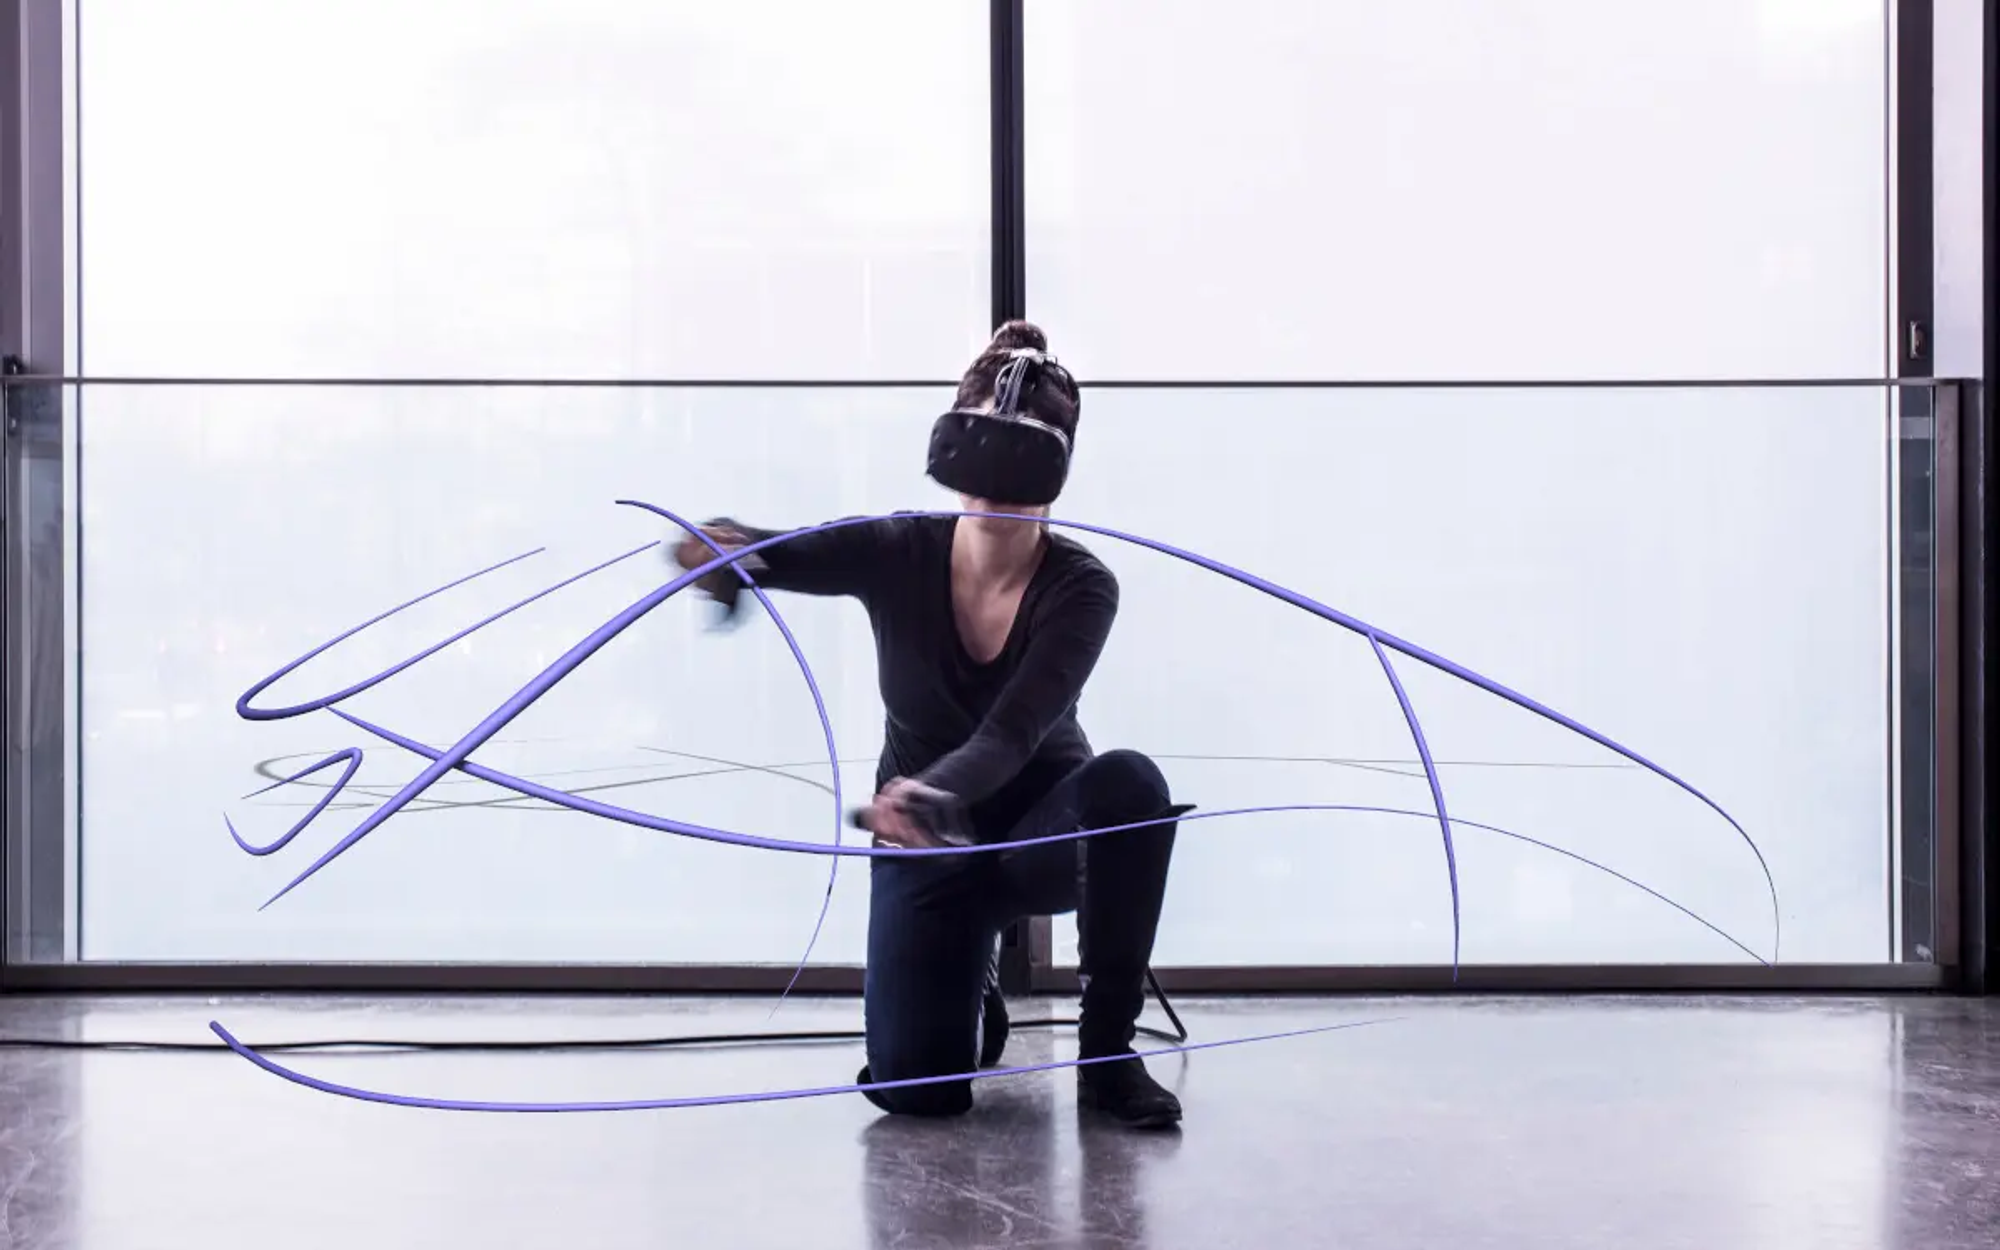
- We start with the ink brush because that is very intuitive and easy for most to figure out. From there, we show how to grab, change color, material & modify the strokes.
Stroke Tool
- Then, we move into the stroke tool and clarify the difference between the Ink brush & Stroke tool. We usually dive deep into all the different modification options on the stroke tool panel.
- Lastly for this session, we have everyone do some sort of sketch using those two tools.
Session 2
The second session is where we propose to dive into more details around shapes, volume and surfacing. This can be cut into two sessions if it seems easier for the group.
Refresher
- We always start each session with a refresher on what was learned in the previous session.
Basic Surfacing
- In this session we typically start with a demo on surfacing through the surface tool panel & also surfacing using the ribbon stroke option. This, however, can be unique to the area of expertise you are training. For example, if the plane tool in the primitive objects panel is more useful, you could start with that. It is generally suggested to start with an easily understandable tool for the industry.
- We often use this time to explain the difference between SubD and Nurbs for new modellers. Based on the industry you are training, it may be more beneficial to show how to surface in Nurbs and then convert to SubD later or it could be better to start in SubD. Please reach out if you have deeper questions on this.
- We go over basic surfacing using freehand tools, point tools, extruding edges, extruding entire edge loops, bridge curves etc.
Revolve Tool and Primitive Shapes
- After basic surfacing and editing surfaces are understood, we dive into the other surfacing options and show the revolve tool
- Lastly, we show primitive shapes and all the options those shapes can afford when modified.
Session 3
The proposed third session is learning about more advanced surfacing details. This can be cut into two sessions if it seems easier for the group.
Merge, Cut, Crease etc.
- Here we dive into all the different ways to create detail on a surface. We dive into the “tools” menu on the drawing hand while in edit mode which has the crease tool, the merge tool, the cut tool and the additional points tool.
Merging SubD surfaces, Edge Flow & general topography basics
- A big part of this third session is showing a proper way to extrude to create the edge loops you want, and how to merge surfaces in SubD
- We show how different spacing on edges & points can create different hardnesses and how to modify entire edge loops
- We show how to delete faces & extrude faces
Thicken & Offset
- We show the thicken & offset tools
Session 4
The fourth session is where we propose to start shifting training from constant tool learning to diving into individual project help. This session can be focused on questions each student has, or it can be based on helping them achieve the look they are going after.
Session 5
The fifth session is usually a group review of the final designs. We also propose to cover exporting options and start to talk about workflow outside of GS. We cover:
- All export file type options
- Screenshots (if not already discussed earlier)
- Environment and presentation options
- Workflow outside of GS, and what it is like to bring GS models into other programs
