Introduction
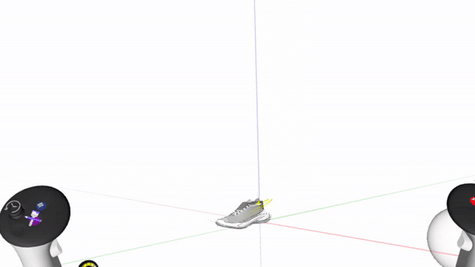
This feature allows you to see the content from different angles of view (from the side, front, back, top, and bottom).
While in Edit mode, all changes will be reflected to Viewports in real-time which means you will be able to see the changes as you are making them.
Access and Use
- Press the blue Menu button on the non-drawing hand controller
- Navigate to the Viewports
- Rotate your non-drawing hand controller to see viewports from different corresponding angles
- Pull the individual viewports from the bounding box and place them anywhere in the space
Orthographic Viewport Panel
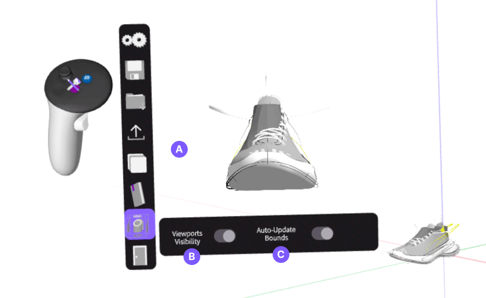
A. Bounding Box: You can grab and pull each side separately and place it anywhere in space
B. Viewports Visibility: move the toggle to the left (Hide Viewports) to hide the viewports placed in space
C. Auto-Update Bounds: Set the bounds to be updated automatically or manually. If set to Manual, you will need to update it manually by pressing the refresh icon on the right (Resize Bounding Box)
Standalone headsets will only display one viewport at a time, due to the processing power required
Viewports Screenshot
To take a screenshot directly from viewports, hover on the bottom right corner of the viewport to highlight the camera icon, then pull the trigger.

Access Viewports Screenshots
Viewports Screenshots will be saved the same as regular Screenshots, either locally to your headset or the cloud (LandingPad), depending on your Saving Setting.
If you are saving locally connect your headset to your PC and go to Gravity Sketch > Screenshots. If you are saving to the cloud you can access the screenshots through the browser on app.gravitysketch.com