Layers
Introduction
Layers enable working in the most detailed layered way you would like. Find all the Layers functions explained in this article.
Access
1. Press the blue Menu button
2. Select Layers
Layers Panel
New Layer: Click to add a new layer
Lock: Click to lock/unlock the layer
Layer name: Shows the name of the layer. Click to change the name of the layer
Toggle Solo Layer: Click to make only the selected layer visible in the scene. Layers added to Toggle Solo Layer will always be visible even if visibility is set to minimum.
Transparency/Visibility: Move the toggle left or right to adjust the transparency
Activity of the layer: Click to find the active layer
Number of layers: Indicates the number of layers in the sketch/room
Grouping Layers
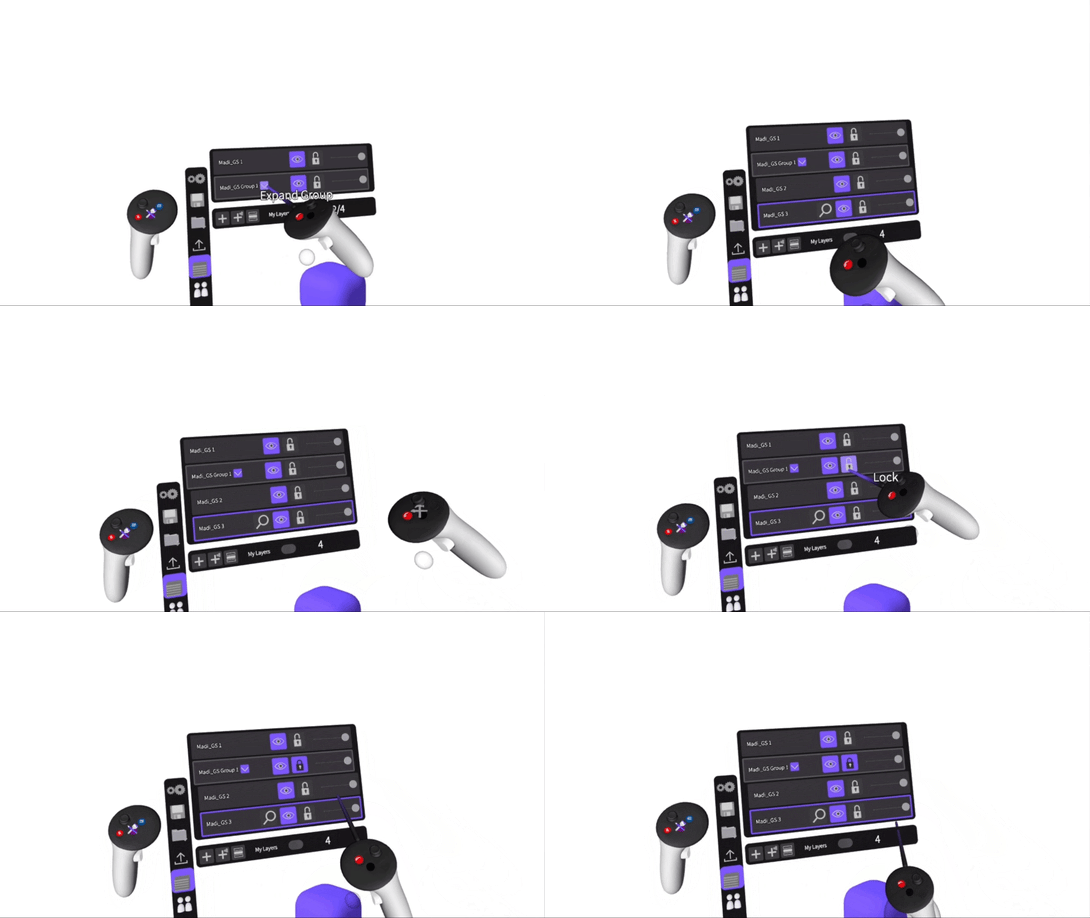
You have the ability to group layers in VR. With this feature you’ll be able to create nested layers to one additional level. Navigate to the layers tab and press the second "+" button to create a new layer group. You can add layers to a layer group by grabbing and dropping a layer in the layer group.
This will help control, navigate, show / hide design elements at a layer level for more efficient organization of your work, as well as easier presentation during design reviews.

Drop the objects into layers
You can drop the geometry to the layer by grabbing and dropping it in the layer once it highlights green.
.gif?width=587&height=331&name=Add%20Object%20to%20layer%20-%20Made%20with%20Clipchamp%20(1).gif)
Lock Layers
When locked you can add but you won’t be able to delete, move or edit the geometry on the layer. A message will pop up to warn you.

Duplicate Layers
To duplicate a layer grab it with the grab sphere and press the front trigger on your drawing hand controller. To duplicate multiple layers, grab them at the same time and press the front trigger. Duplicated layers will appear under the existing original layer.

Delete Layers
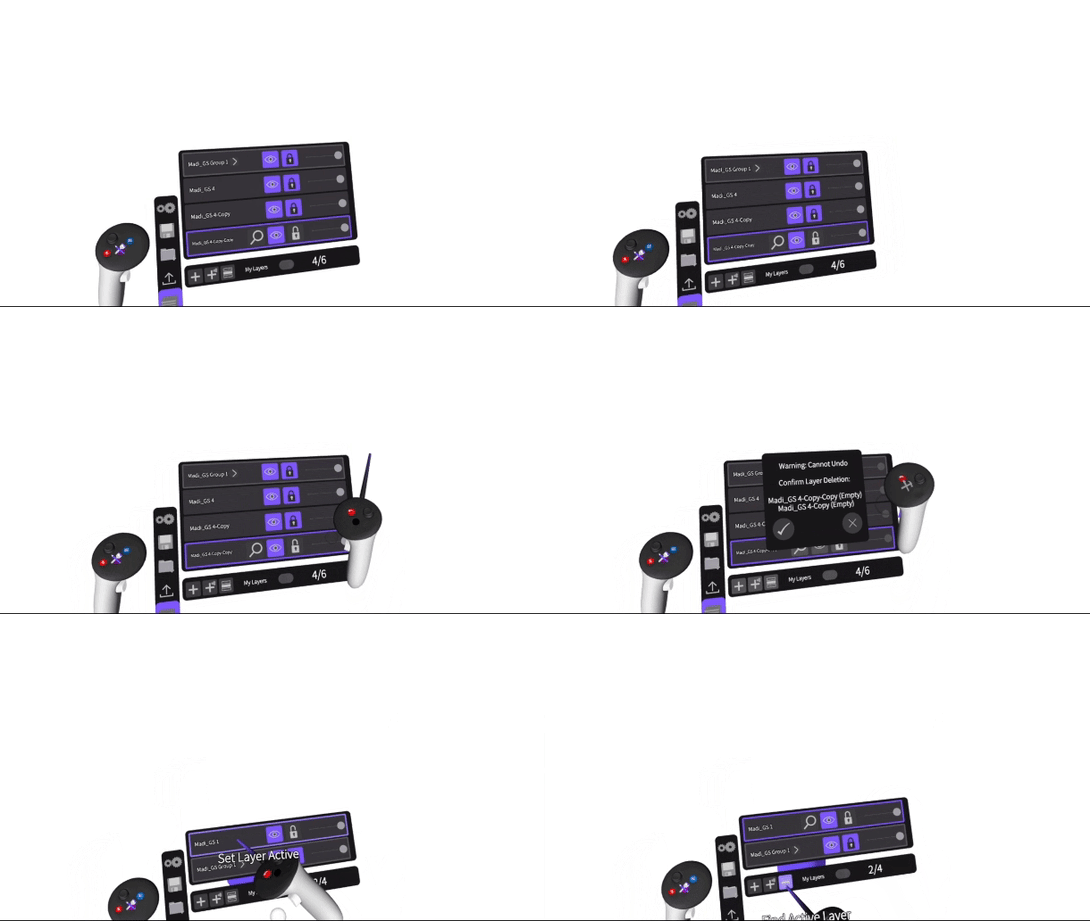
To delete a layer grab it with the grab sphere and press the delete button on your drawing hand controller, just like with normal geometry. You can also delete multiple layers by expanding the grab sphere and grabbing multiple layers at the same time.
When deleting the layer the geometry that is part of that layer will be deleted from the scene permanently and you won’t be able to retrieve it.

Renaming layers
To rename the layer click on the layer and the keyboard will pop up. Type in the name and select the blue check mark.

Navigation
Navigate through the layers in two ways:
- Point and use the trigger
- Push up and down on your joystick on the non-drawing hand controller
Layers highlights
You can see which object in your sketch belongs to which layer
Hover over any layer to highlight the object in red, orange or purple, depending on whether they are solo, mirrored or grouped objects.
- Red highlights are for the original objects that are being mirrored
- Purple indicates the grouped objects
- Orange is for the individual reflected lines that do not connect directly with their original counterpart
Reflected lines/objects that connect with the original line being mirrored directly on the mirror plane, will then become red as well. Also, once you bake the mirror, all of the objects will be red.

If you intersect objects numbers in blue will indicate which layers the objects are on and how many of the intersected objects are in each of the layers.
Layers in Collab Mode
Each user has their own layers and can control them independently. Toggle on the "All Layers" option to view and unlock layers created by other users.


